If you smell a musty odour that gets stronger when your furnace or air conditioner kicks in, treat it as likely mold in air ducts until proven otherwise. Turn the system off if the smell is strong or anyone in the house has respiratory symptoms, then pull a register and check the first foot or two with a flashlight. Fuzzy or slimy growth on porous duct insulation usually means replacement, not cleaning, and full remediation almost always calls for a professional.
TL;DR:
- Mold in air ducts usually develops due to moisture from a dirty coil, clogged drain, or temperature swings in unconditioned spaces, feeding on dust buildup.
- Homeowners can identify potential mold by a strong musty smell, fuzzy growth at registers, or staining on filters and grilles, but heavy contamination requires professional help.
- DIY cleaning should focus on surface removal and system containment, avoiding bleach or aggressive scrubbing of porous insulation, which can worsen mold spread.
- Professional remediation involves inspection, containment, coil and drain servicing, and replacing porous materials that cannot be effectively cleaned.
- Preventive measures include controlling indoor humidity, replacing filters regularly, sealing ducts, and scheduling annual HVAC maintenance to keep mold from returning.
Table of Contents
- What causes mold in air ducts
- Signs and a quick homeowner check you can do safely
- Immediate safe actions and what not to do
- When to call a professional and what remediation involves
- Prevention and maintenance to stop mold returning
- What homeowners consistently get wrong
- Blue Brothers: how we help and how to reach us
- Sources
- FAQ
What causes mold in air ducts
Mold needs three things to take hold in a duct system: moisture, organic material and still air. Your HVAC system supplies all three more often than most homeowners realize.
The evaporator coil is the usual starting point. Air conditioning naturally condenses water on the coil, and if the coil stays wet between cycles or the condensate drain gets clogged, that water backs up into the plenum and nearby ductwork. Ducts running through attics or crawl spaces face a second risk: temperature swings cause condensation on the duct exterior or interior, especially where insulation is thin or missing. Add a roof leak, a plumbing leak near a duct run, or even minor flooding, and you have a reliable moisture source feeding the problem for months before anyone notices.
Moisture alone doesn’t grow mold. It needs food, and dust buildup on duct walls supplies exactly that: skin cells, pet dander, and fibres make an effective growth medium once they’re damp.
A few mechanical issues make it worse:
- A dirty or poorly fitted filter lets dust bypass into the ducts instead of trapping it.
- Short-cycling equipment (turning on and off rapidly) increases condensation swings inside the system.
- Blocked return grilles restrict airflow, which can leave moisture sitting longer than it should.
Signs and a quick homeowner check you can do safely
A musty odour that grows stronger once the HVAC system starts running is often the clearest sign of hidden contamination, and it usually points to the coil, drain pan, or plenum rather than the whole duct network. Here’s how to check it yourself without opening up anything you shouldn’t:
- Notice when the smell appears. If it’s strongest right at startup and fades after a few minutes, suspect the coil or plenum area first.
- Turn off the system, remove a return or supply register with a screwdriver, and shine a flashlight one to two feet into the duct opening.
- Look for texture. Fuzzy, dark, or slimy growth is a red flag. Dry, powdery dust that wipes away easily is usually just dust, not mold.
- Pull the filter and inspect it and the grille behind it for dark staining or a similar musty smell.
- If you see growth beyond the register, if the smell persists after cleaning surfaces, or if anyone in the home has worsening allergy or asthma symptoms, stop the DIY check and move straight to calling a professional.
Immediate safe actions and what not to do
Once you’ve confirmed a likely problem, your job for the next 24 to 48 hours is containment, not cleaning the whole system yourself.
Do this the same day: turn the system off if contamination looks heavy or anyone is symptomatic, wipe the visible register face with a detergent solution while wearing an N95 mask and gloves, replace the filter with a fresh one, and run a HEPA air cleaner in the affected room if you have one.
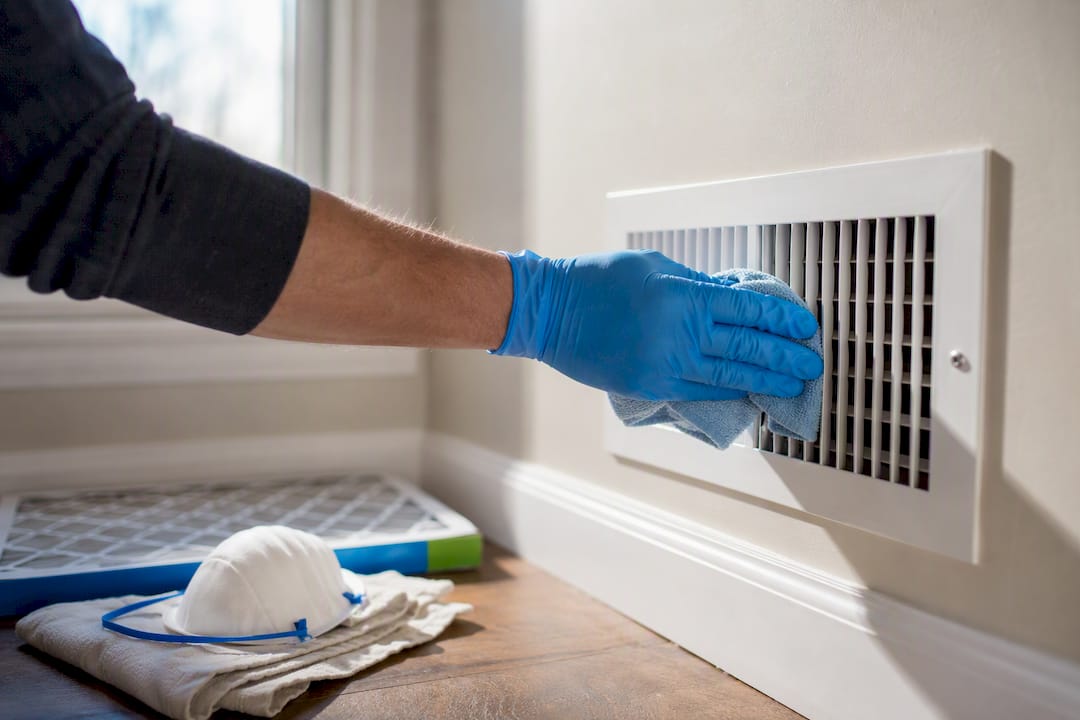
Within the next day or two: keep the system off until you’ve either confirmed the problem is surface only or booked an inspection, and monitor whether symptoms improve once airflow from that duct stops.
What you should not do matters just as much:
- Don’t spray bleach, biocides, or scented sprays into the ductwork. This masks odour without addressing the source and can introduce harsh chemicals into your air supply.
- Don’t hire a “whole-house vacuum cleaning” deal that skips containment. A simple vacuum-at-the-register approach is frequently inadequate once mold has moved past the surface.
- Don’t attempt to clean or scrub porous duct insulation yourself. Vigorous scrubbing spreads spores rather than removing them.
Pro Tip: Keep the system off between your DIY check and your professional inspection. Running air through a contaminated duct, even briefly, pushes spores further into your home’s air supply.
When to call a professional and what remediation involves
Call a professional the moment you see growth inside the duct itself, find mold on porous insulation, notice a musty smell that returns every time the system runs, or have a recurrence after a previous cleaning. Occupants with asthma or a weakened immune system tip the decision toward calling sooner rather than later, given how indoor allergens contribute to asthma symptoms.
Professional remediation consistent with EPA and NADCA guidance typically follows this sequence:
- A borescope inspection of hard-surface duct sections and coil areas to confirm the extent of growth.
- Containment using negative-pressure HEPA filtration so spores aren’t pushed into living spaces during the work.
- Mechanical removal of the mold source, plus service of the evaporator coil and drain pan, which is frequently the single corrective action that stops recurrence.
- Removal and replacement of any porous duct materials, since insulated ducts and insulation that get wet or moldy cannot be effectively cleaned.
- Post-work verification, ideally with before-and-after photos.
A borescope inspection commonly runs $150 to $400, with total cost driven largely by whether porous sections need replacing rather than just cleaning.
When vetting a contractor, ask for documentation aligned with IICRC S520 remediation criteria and be wary of anyone who won’t show before/after photos, refuses to discuss replacing porous duct sections, or quotes a flat low-cost “whole house” price without an inspection first.
Prevention and maintenance to stop mold returning
Fixing the current problem is only half the job. Preventing a repeat means controlling the conditions mold needs in the first place.
- Keep indoor humidity between 30% and 50%. A dehumidifier in damp basements and exhaust fans in bathrooms and kitchens do most of the work.
- Choose a filter with a MERV rating your system can handle (usually MERV 8 to 13 for residential systems) and replace it every one to three months.
- Seal duct joints and add insulation in unconditioned spaces like attics and crawl spaces, where temperature swings cause condensation.
- Have the condensate drain checked and cleared as part of annual HVAC servicing. This one step prevents a large share of coil and drain pan issues.
- Book a full HVAC service once a year, and consider a duct inspection every few years even without obvious symptoms, especially in older homes.
Better filtration and clean ducts also translate into real efficiency gains, since a system fighting dust buildup and restricted airflow works harder to heat or cool the same space.
What homeowners consistently get wrong
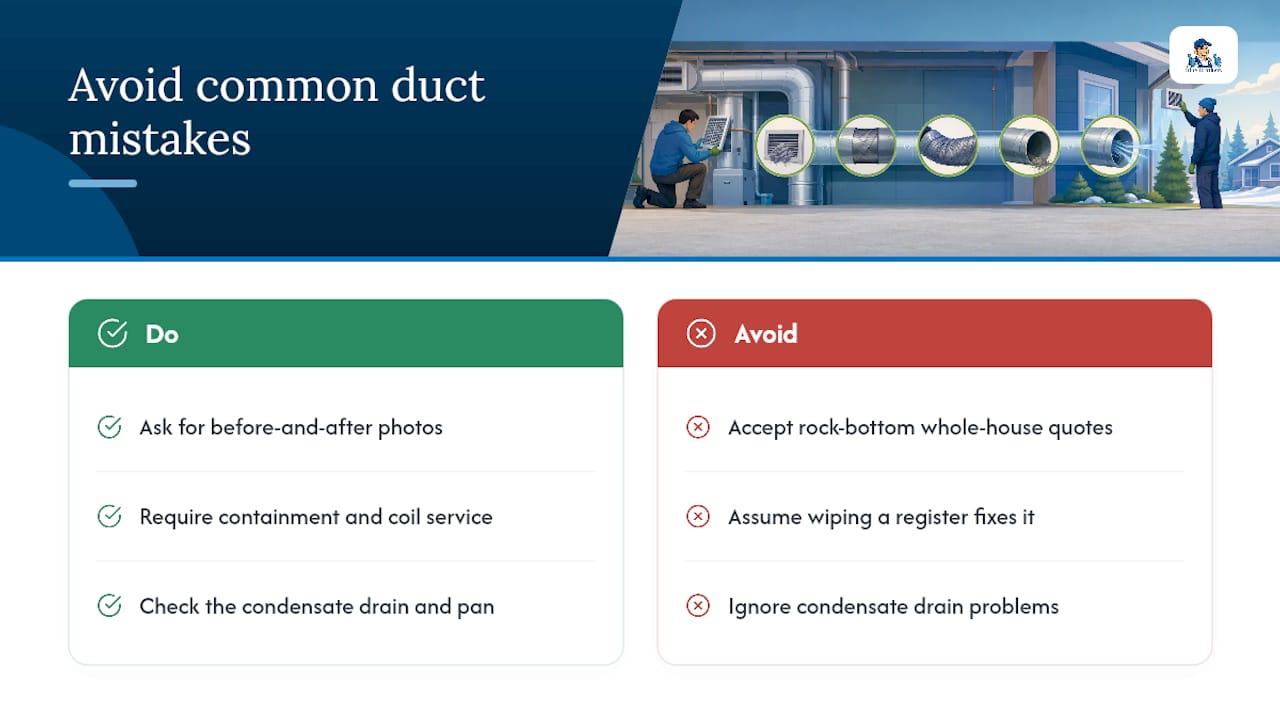
The most common mistake isn’t ignoring the problem. It’s underestimating it. Wiping down a register face and calling it done feels like progress, but if the smell returns within a week, the source was never touched. The second mistake is trusting a rock-bottom “whole-house cleaning” quote with no mention of containment or coil service. That’s not a bargain. It’s usually surface work being sold as a full fix. And the condensate drain gets ignored far too often. It’s the single most preventable cause of recurring growth after a cleaning.
If you do hire help, ask for photos before and after. A contractor who documents the coil, the drain pan, and the duct interior is showing you the job, not just telling you about it.
— Jayce
Blue Brothers: how we help and how to reach us
If your inspection turned up more than surface dust, professional duct remediation that stops recurrence includes coil cleaning, condensate drain service, and full duct cleaning with the containment methods described above. We also handle dryer vent cleaning, which addresses a related fire-risk issue many homeowners deal with alongside duct concerns.

When you’re comparing quotes, ask any contractor, including us, for inspection photos, confirmation of negative-pressure HEPA containment, and a clear answer on whether porous duct sections need replacing rather than cleaning. If the growth is limited to hard-surface ductwork, cleaning may be enough; if it’s reached insulated sections, replacement is the right call, not a stronger cleaning solution.
Book a duct inspection through our residential duct cleaning page or reach out for a quote if you’ve already spotted growth and want a same-week assessment. Commercial property managers can find scope and pricing details on our commercial duct cleaning page.
Sources
This article draws on EPA guidance on duct cleaning, IICRC S520 remediation standards, and Mayo Clinic resources on mold allergy symptoms for health context. Consult these directly for technical or medical detail beyond what’s covered here.
This article is general information, not a substitute for advice from a qualified doctor. Consult a qualified healthcare professional about your own circumstances before acting on anything here.
- Should I have the air ducts in my home cleaned? | US EPA
- Mold in HVAC ductwork: complete guide to detection, removal & prevention (2026)
- IICRC S520 standard
FAQ
Is mold in air vents harmful?
Yes, especially for people with asthma, allergies, or weakened immune systems. Exposure to indoor mold can trigger or worsen respiratory symptoms, so persistent symptoms tied to system operation are worth taking seriously.
What should I do if I have mold in my air ducts?
Turn the system off if contamination looks heavy, inspect visible sections with a flashlight after removing a register, and clean surface-level growth on the register face with detergent and PPE. Growth beyond the register or on porous insulation calls for a professional.
How long does it take to remove mold from air ducts?
Timelines vary with the extent of contamination, but a professional job typically starts with a borescope inspection costing $150 to $400, followed by containment and cleaning or replacement work that can run from one day to several, depending on how much porous material needs replacing.
What are the signs that my air ducts have mold?
The clearest sign is a musty smell that intensifies when the HVAC system starts running. Visible fuzzy or slimy growth at registers, staining on the filter or grille, and worsening allergy symptoms when the system runs are also strong indicators.