Canada does not have one national maximum dryer vent length that applies to every house. The model building codes are adopted province by province, and in practice the number that governs your laundry room is the one in your dryer’s installation manual, reduced for every elbow and for the exterior hood. The figure of 35 feet (10.7 m) you will see quoted is a common benchmark, and it is a sensible ceiling to plan around, but it is not a Canadian rule you can rely on in place of your manual.
This guide explains how the length is worked out, what the codes do and do not say, and how to check a run you already have.
TL;DR
- There is no single Canada-wide numeric limit. Your dryer’s installation instructions set the maximum length, and your provincial building code and local authority decide what is enforced.
- Thirty-five feet (10.7 m) is a widely used benchmark, but long runs beyond it often need a booster fan, and every elbow and the hood shortens the allowance.
- Use rigid or semi-rigid metal duct, vent straight outdoors through a hood with a damper, and never into an attic, garage or crawlspace.
- Shorter, straighter and smoother is always better: it dries faster and leaves less room for lint to build up.
- If your run is long, has many bends or your dryer takes two cycles, have it inspected and cleaned.
Table of Contents
- Why there is no single Canadian number
- How the allowable length is calculated
- What elbows, hoods and duct type do to the limit
- When the run is longer than 35 feet
- Collective venting in multi-unit buildings
- What to check alongside the length
- How to measure your existing vent
- Signs your dryer vent is too long or too clogged
- Perspective: what we see in real laundry rooms
- Getting your vent cleaned
- FAQ
- Sources
Why there is no single Canadian number
The National Building Code is a model code. It becomes law only when a province or territory adopts it, and what is enacted can differ by jurisdiction. British Columbia, Alberta and Saskatchewan each publish or adopt their own version, and cities can add requirements on top.
On dryers specifically, the Part 9 wording for houses is mostly about where the air goes, not how far. It requires the dryer to exhaust directly to the outdoors and keeps it separate from other airstreams. Building professionals discussing the national, Ontario and BC wording describe it as largely identical and silent on a developed-length figure, so the limit is left to the appliance instructions. We have not found a separate numeric dryer duct limit in the BC Building Code that differs from the rest of the country. If you are building or renovating, ask your local building department which edition is in force and whether it sets anything beyond the manual.
The 35-foot number comes mainly from US model codes. It also shows up in Canadian practice: some dryer instructions and local codes call for a dryer exhaust duct power ventilator once the run exceeds 35 linear feet. Treat it as a useful rule of thumb, not a guarantee that a 35-foot run is approved on your dryer.
How the allowable length is calculated
The length that counts is not the distance from the dryer to the wall. The total vent system length includes all straight and curved portions of the duct. Manufacturers then take away an allowance for each fitting.
A typical Canadian-market instruction sheet works like this:
- Find the maximum length for your duct type (rigid metal, semi-rigid) and your exterior hood style in the manual’s table.
- Subtract the allowance for each 90-degree elbow. In one GE guide, each added 90-degree elbow reduces the allowed length by 10 feet.
- Count two 45-degree elbows as one 90-degree elbow. The same guide says one elbow of 45 degrees or less can be ignored.
- Compare the remaining number to your actual run, measured along the path the duct takes.
Manuals differ, so do not borrow another brand’s numbers. The method is the same, but the allowances are not.
A worked example
Suppose your manual allows 60 feet of rigid duct with a standard hood and no elbows, and subtracts 10 feet per 90-degree elbow. Your laundry room is in the basement. The duct rises 8 feet, turns 90 degrees, runs 14 feet along the joists, turns 90 degrees again and exits through the rim joist.
- Straight length: 8 + 14 + about 2 feet to the hood = 24 feet
- Allowance for two 90-degree elbows: 20 feet
- Equivalent length: 44 feet
That is within 60 feet, so this run suits the dryer. Add two more elbows to get around a duct and the equivalent length rises to 64 feet, which now exceeds the allowance. Those numbers are illustrative only. Use the figures in your own manual.
What elbows, hoods and duct type do to the limit
Elbows. Each bend slows the air and catches lint. Fewer, wider-radius elbows are better than many tight ones. If you have to turn, do it once, close to the dryer, rather than near the end of a long run.
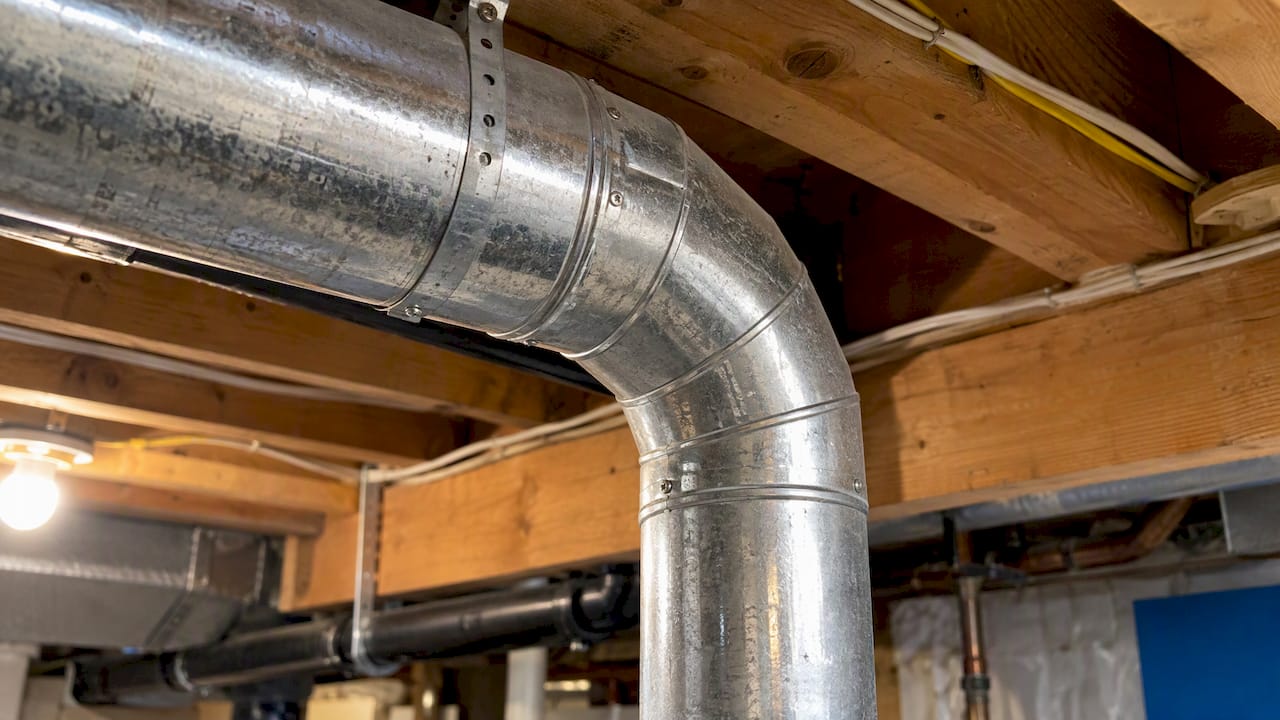
The exterior hood. The terminal at the wall is part of the calculation, and some manuals assign it a length penalty. Check that the damper opens freely, and do not fit a screen over the outlet, because screens clog with lint and choke the airflow. Good hardware and installation matter here, and a piece on proper exhaust hood installation covers approved duct materials and why a correctly fitted hood matters for any exhaust run.
Duct material. Smooth-wall rigid metal gives the least resistance and the longest allowable run. Manuals commonly allow less length for semi-rigid duct. For a home exhaust duct, the GE instructions say not to use plastic, and not to use flexible metal or metal foil ducting. If you are choosing between types, our comparison of rigid vs flexible duct goes through the trade-offs.
Diameter. Residential dryers are normally set up for a 4-inch (102 mm) duct. Do not reduce the diameter along the run, and do not squeeze the duct behind the dryer.
| Factor | What it does to your allowable length | What to do |
|---|---|---|
| 90-degree elbow | Reduces it by the manual’s allowance (10 ft in one GE guide) | Keep to one or two, placed near the dryer |
| Two 45-degree elbows | Count as one 90-degree elbow | Use them in place of a tight 90 where you can |
| One elbow of 45 degrees or less | May be ignored in that guide | Check your own manual |
| Exterior hood | May carry a length allowance; damper must move freely | No screen, clear the lint regularly |
| Flexible foil or plastic | Not acceptable for the permanent exhaust duct | Replace with rigid or semi-rigid metal |
When the run is longer than 35 feet
Sometimes the layout leaves no choice: a laundry room in the middle of a house, or a condo unit far from an exterior wall. Long, restrictive runs can lengthen drying times, and a dryer exhaust duct power ventilator, a booster fan installed in line, can help the dryer overcome the added restriction. Follow the fan maker’s instructions and the dryer maker’s instructions together. Do not simply add a fan to a run your manual forbids.
Before you add hardware, consider whether you can shorten the path: moving the dryer, venting through the nearest exterior wall instead of the roof, or removing unnecessary elbows. Shorter is nearly always the better fix.
Collective venting in multi-unit buildings
Apartment, strata and condo buildings often use shared systems, and the rules differ from single-family homes. The 2010 National Building Code provision for collective venting calls for a common exhaust duct, one central exhaust fan and a central lint trap, to prevent back-drafting and reduce the fire risk from lint buildup. Ontario’s 2024 code carries the same idea: one central fan and one central lint trap. The lint trap should be readily accessible for servicing.
If you manage a building like this, the practical point is that the system needs scheduled cleaning, not just compliance on day one. We cover that on our page for strata dryer vent cleaning.
What to check alongside the length
Length is only one part of a safe dryer vent. Check these as well:
- Outdoor termination. Venting dryer exhaust into attics, garages or enclosed crawlspaces is prohibited because of moisture damage and air-quality problems.
- No shared venting. Do not tie the dryer into a bathroom fan, range hood or furnace vent.
- Metal duct, backdraft damper hood. Use rigid or semi-rigid metal duct and a hood with a backdraft damper.
- Support and joints. Seal joints so lint cannot escape, support the duct so it does not sag, and avoid screws that poke into the airway and catch lint.
- Access. Keep the duct reachable so it can be cleaned from both ends.
- Clearance. Leave space behind the dryer so the transition duct is not crushed.
How to measure your existing vent
- Pull the dryer out and disconnect the duct. Switch off the power, and shut off the gas if it is a gas dryer.
- Trace the duct from the dryer to the outside, measuring each straight section with a tape measure.
- Count every elbow and note whether it is 90 or 45 degrees.
- Identify the hood type outside.
- Open your manual (the model number is on a label inside the door) and find the table for your duct type and hood.
- Subtract the allowances and compare.
If the manual is lost, most manufacturers post PDFs on their Canadian sites. Search the model number.
Signs your dryer vent is too long or too clogged
A run that exceeds the allowance, or one that is simply full of lint, shows the same symptoms:
- Clothes need two or more cycles to dry.
- The dryer or the laundry room feels unusually hot.
- The outdoor flap barely opens, or lint collects around the hood.
- A musty smell appears in the laundry area.
- The lint screen is clean but the vent still seems weak.
Our 10-minute checks for a dryer that isn’t drying walks through the quick tests, and when a roof termination is the problem we explain rooftop dryer vent cleaning safety, including why climbing is a job for trained people.
Perspective: what we see in real laundry rooms
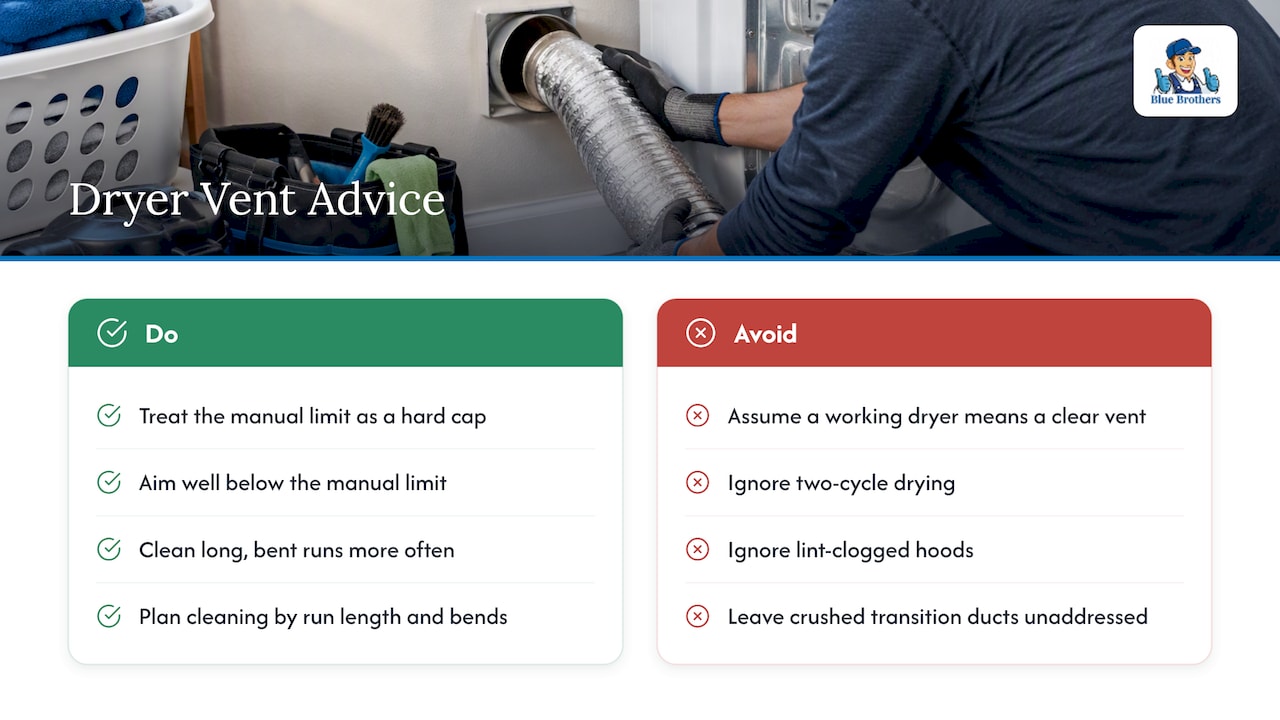
We clean dryer vents across British Columbia, Alberta and Saskatchewan, and the problem is rarely a code number. It is a long run with extra bends, a crushed transition duct or a hood clogged with lint. Homeowners often assume that if the dryer works, the vent is fine. A dryer that runs two cycles to dry a load is already telling you the airflow is restricted.
Our advice is to treat the manual’s limit as a hard cap, aim to be well below it, and plan cleaning around how long and winding the run is. A short, straight duct can go longer between cleanings. A long one with several bends should be cleaned more often, because lint settles at every turn. Neglected vents are a real fire risk, and cleaning is one of the cheapest ways to reduce it.
— Jayce
Getting your vent cleaned
If you have measured your run and it is long, or you cannot reach it safely, a professional clean restores airflow without guesswork. Our certified technicians clean dryer vents for homes and strata buildings, with published pricing of $99 to $225 per job, depending on the run. You can see the details on our dryer vent cleaning page, or read about residential dryer vent cleaning in BC, Alberta and Saskatchewan. We offer round-the-clock support, including emergencies.
FAQ
What is the maximum dryer vent length in Canada?
There is no single national maximum. Your dryer’s installation manual sets the limit for your duct type, number of elbows and hood style. A total of 35 feet (10.7 m) is a common benchmark, and runs beyond it often call for a booster fan, but your manual and local building department have the final say.
Does the BC Building Code set a different dryer vent length?
We have not found a separate numeric dryer duct limit in the BC Building Code. Like the national model, it requires the dryer to exhaust directly outdoors. Confirm with your local building department, especially for new construction or renovations that need a permit.
Do elbows count toward the length?
Yes. The total length includes straight and curved sections, and manuals subtract an allowance for each elbow. In one GE guide, each extra 90-degree elbow cuts the allowance by 10 feet, and two 45-degree elbows count as one 90.
What duct should I use for a dryer?
Use smooth-wall rigid or semi-rigid metal duct, normally 4 inches in diameter. Avoid plastic, and avoid flexible foil for the permanent run. Finish at an outdoor hood with a damper and no screen.
Can I vent my dryer into the garage or attic?
No. Exhaust must go outdoors, because venting into attics, garages or crawlspaces causes moisture damage and air-quality problems.
Sources
- Fantech: dryer exhaust systems and power ventilators
- Whirlpool ventilation specification for Canada
- National Research Council: NBC Part 6, HVAC
- Ontario Building Code 9.32.1.3, venting of laundry-drying equipment
- GE dryer installation guide
- Retrofitting old buildings with dryer vent systems
- Ventilation and exhaust hood installation